


5 Essential Length Measurement Mistakes That Ruined My DIY Project
There’s a very specific kind of silence that fills a garage when you realize you’ve cut something two inches too short.
Not the peaceful kind. The heavy, regret-soaked kind.
Mine came on a Saturday afternoon, surrounded by sawdust and misplaced confidence. I was building a custom wall-mounted bookshelf — clean lines, symmetrical shelves, perfectly spaced brackets. At least that was the dream.
In reality? Warped alignment. Gaps at the corners. A shelf that leaned like it had opinions.
And every single failure traced back to one brutal truth:
I messed up the measurements.
Not once. Not twice. Five different ways.
If you’ve ever thought, “It’s just measuring — how hard can it be?” — this one’s for you.
The Project That Taught Me Everything
Before we dive into the mistakes, here’s what I was building:
Project Overview
| Feature | Planned Specification |
|---|---|
| Total Width | 72 inches |
| Shelf Depth | 12 inches |
| Number of Shelves | 4 |
| Wall Clearance | 1 inch |
| Material | 3/4″ plywood |
| Mounting Type | Floating bracket system |
Simple, right?
Wrong.
Because length measurement errors don’t just affect one cut — they compound.
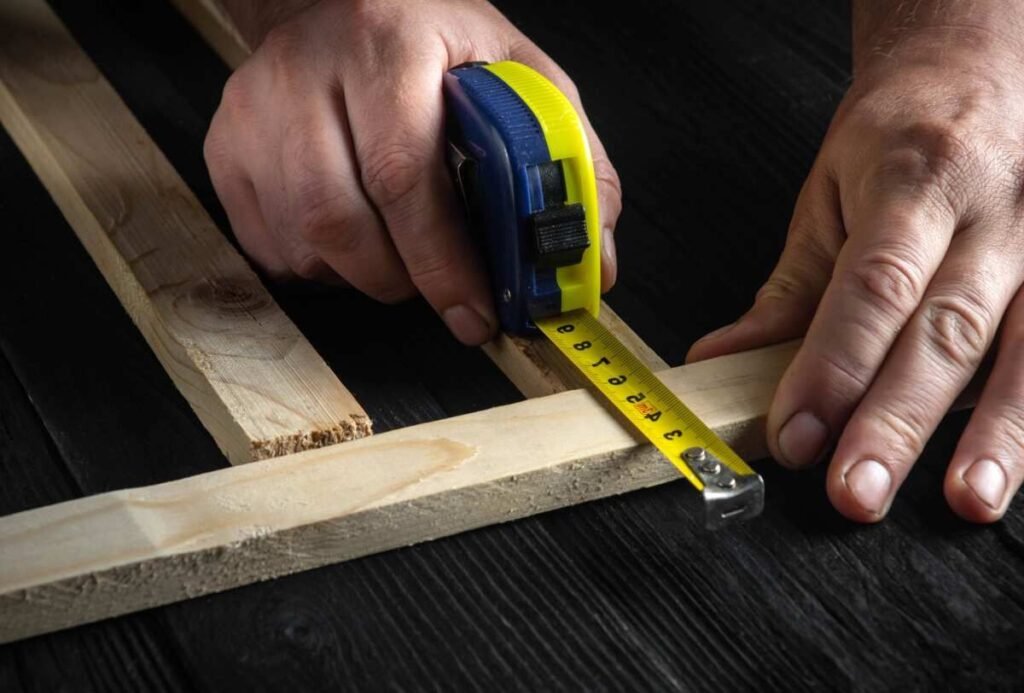
Mistake #1: Measuring Only Once
I measured the first vertical panel. Marked it. Cut it.
Confident.
Then I held it up to the wall.
It was 1.5 inches too short.
I had measured from the baseboard — not from the floor.
That 1.5 inches mattered.
Why This Happens
We assume:
- Our first measurement is accurate.
- The environment is uniform.
- Our eyes are “close enough.”
They’re not.
The Real Rule: Measure Twice, Cut Once
Actually? Measure three times when it matters.
Here’s what double-checking protects you against:
| Error Type | Caught by Re-measuring? |
|---|---|
| Tape hook shift | Yes |
| Reading wrong marking | Yes |
| Measuring from wrong surface | Yes |
| Recording wrong number | Yes |
| Material bowing | Sometimes |
My Cost of This Mistake
| Consequence | Impact |
|---|---|
| Wasted plywood sheet | $42 |
| Extra store trip | 2 hours |
| Confidence level | Severely damaged |
Lesson burned into my brain: Never trust the first number.
Mistake #2: Ignoring Material Thickness
This one is sneaky.
I calculated shelf spacing as if everything had zero thickness.
Four shelves at 12-inch spacing sounded perfect.
But I forgot one small thing:
Each shelf was 3/4 inch thick.
That means the total height needed wasn’t:
12 × 4 = 48 inches
It was:
(12 × 4) + (0.75 × 4) = 51 inches
I was off by 3 inches.
Three inches is the difference between “custom built” and “why does this look wrong?”
Thickness Compounding Effect
Here’s how thickness stacks up in real projects:
| Number of Layers | 1/2″ Material | 3/4″ Material | 1″ Material |
|---|---|---|---|
| 2 | 1″ | 1.5″ | 2″ |
| 4 | 2″ | 3″ | 4″ |
| 6 | 3″ | 4.5″ | 6″ |
| 10 | 5″ | 7.5″ | 10″ |
Notice how quickly small fractions become big errors.
Fractions are not small in woodworking.
They are everything.
Mistake #3: Not Accounting for Kerf (Blade Width)
This one hurts the most because I knew better.
Kerf is the width of the material removed by your saw blade.
Most standard circular saw blades remove about 1/8 inch per cut.
I cut five pieces from one board assuming exact divisions.
I forgot that every cut removes material.
The Math I Should Have Done
If I need five 12-inch pieces:
Required raw length is NOT:
12 × 5 = 60 inches
It’s:
(12 × 5) + (0.125 × 4 cuts) = 60.5 inches
Half an inch gone.
Half an inch destroyed the final alignment.
Visual: Kerf Loss in Multi-Cut Boards
Board Length: 72 inchesCut #1 → -0.125"
Cut #2 → -0.125"
Cut #3 → -0.125"
Cut #4 → -0.125"
Cut #5 → -0.125"Total Loss: 0.625 inches
That’s more than half an inch.
Enough to ruin flush joins.
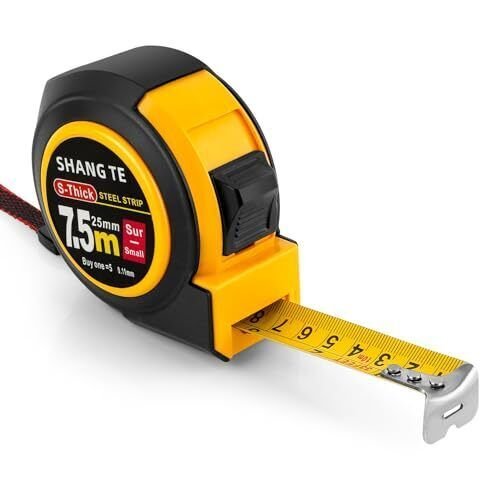
Mistake #4: Trusting the Tape Measure Blindly
Here’s something nobody talks about:
Tape measures lie.
Or more accurately, they shift.
The little metal hook at the end? It moves slightly to account for inside vs outside measurements.
If it gets bent?
Every measurement changes.
Mine was bent.
I didn’t notice.
How Tape Hook Error Affects Accuracy
| Hook Condition | Measurement Error |
|---|---|
| Properly aligned | 0″ |
| Slight bend inward | -1/16″ |
| Slight bend outward | +1/16″ |
| Heavy damage | ±1/8″ or more |
That doesn’t sound like much.
But stack that over 10 cuts?
Now you’re off by over an inch.
That was me.
Mistake #5: Not Checking Squareness
This is the silent destroyer.
You can measure perfectly in length.
But if your angle isn’t 90 degrees?
Your project will fight you at every step.
My vertical panels were slightly angled — about 1.5 degrees off square.
Visually? Hard to detect.
Functionally? Catastrophic.
Shelves refused to sit flush.
Gaps appeared at corners.
I blamed the wall.
It wasn’t the wall.
It was me.
Degree Error vs Gap Formation
| Angle Error | Gap Over 12 Inches |
|---|---|
| 0.5° | ~1/8″ |
| 1° | ~1/4″ |
| 2° | ~1/2″ |
| 3° | ~3/4″ |
Tiny angle errors create visible gaps.
Measurement isn’t just about length.
It’s about geometry.
The Compound Error Effect
Here’s what really ruined my project:
Not one mistake.
All five working together.
Let’s look at how small errors compound.
| Mistake | Error Size |
|---|---|
| First mismeasurement | 1.5″ |
| Thickness oversight | 3″ |
| Kerf loss | 0.625″ |
| Tape hook shift | 0.25″ |
| Angle error gap | 0.5″ |
| Total Visual Deviation | 5.875 inches |
Nearly 6 inches of accumulated disaster.
No wonder it looked wrong.
The Fix: A Better Measurement System
After rebuilding from scratch, I changed my approach entirely.
Here’s what I do now.
Step 1: Create a Measurement Plan Sheet
Before cutting anything:
| Component | Final Length | Raw Cut Length | Notes |
|---|---|---|---|
| Vertical Panel A | 72″ | 72.5″ | Account for kerf |
| Shelf 1 | 12″ | 12.125″ | Blade loss included |
| Shelf 2 | 12″ | 12.125″ | Confirm thickness |
Writing it down prevented mental math errors.
Step 2: Use Story Sticks
Instead of measuring repeatedly with a tape:
- Mark exact lengths on a scrap board.
- Use that board as a physical reference.
- Transfer directly.
No re-reading numbers.
No confusion.
Woodworkers swear by this for a reason.
Step 3: Check Square Before Every Assembly
Tools that saved me:
| Tool | Purpose |
|---|---|
| Speed square | 90° checks |
| Combination square | Depth + angle |
| Digital angle finder | Precision |
| Clamps | Lock alignment before fastening |
Emotional Lesson: Measurement Is Respect
Here’s the part nobody tells you.
When you rush measurements, you’re disrespecting the build.
DIY isn’t about speed.
It’s about intention.
The project that frustrated me most taught me the most.
Now? I measure slowly.
Deliberately.
Calmly.
And my builds show it.
Quick Reference Chart: Measurement Error Risk Levels
Low Risk:
- Single straight cut
- No joining pieces
- Decorative trimModerate Risk:
- Multi-layer assemblies
- Framing
- Cabinet boxesHigh Risk:
- Floating installations
- Precision joinery
- Structural builds
The higher the risk, the more obsessive you must be.
Final Takeaway
Length measurement seems simple.
But it’s a chain reaction system.
Small inaccuracies don’t stay small.
They multiply.
They stack.
They expose themselves at the worst possible moment.
If I could go back to that Saturday afternoon, I wouldn’t change the project.
I’d change my patience.
And honestly?
That bookshelf failure made me a better builder than any perfect first attempt ever could.
Frequently Asked Questions (FAQs)
1. What is the most common length measurement mistake in DIY projects?
The most common mistake is measuring only once and assuming the number is correct. Environmental factors, tool alignment, and human reading error all contribute to mismeasurement.
2. How much does saw blade kerf really affect accuracy?
Kerf typically removes about 1/8 inch per cut. Over multiple cuts, this can result in more than half an inch of lost material, which significantly affects precision builds.
3. Why does material thickness cause major problems?
When stacking shelves, panels, or layers, thickness compounds quickly. Failing to include material thickness in calculations results in spacing and fit issues.
4. How can I ensure my cuts stay square?
Use a speed square or combination square before cutting and during assembly. Always confirm your saw guide is aligned properly before starting the cut.
5. Should I rely entirely on tape measures?
No. Tape measures can develop inaccuracies due to hook bending. Cross-check with rigid rulers, story sticks, or digital measuring tools for critical builds.
6. Is measuring three times excessive?
For high-precision or structural projects, measuring three times is not excessive — it’s professional practice. Precision prevents material waste and structural flaws.

